


With the holiday season approaching, it’s impossible not to drool at the endless stream of vegan cookies that pop up on our social media feeds. They all look so lovely and enticing. But I know that if I indulge in many of these traditional cookies, I’ll be paying the price. I don’t have to worry with these Perfect Vegan Chocolate Snowball Cookies.
This post may contain affiliate links. That means if you click and buy, I may receive a small commission (at zero cost to you). Please see my full disclosure policy for details.
They’re not only free from the common allergens: nuts, wheat, dairy but also free from refined sugar. I’m so glad that I decided to transform a traditional recipe from my childhood into a healthier version. Using only plant-based ingredients that our family – with all our allergies, sensitivities and dietary restrictions – can enjoy together.
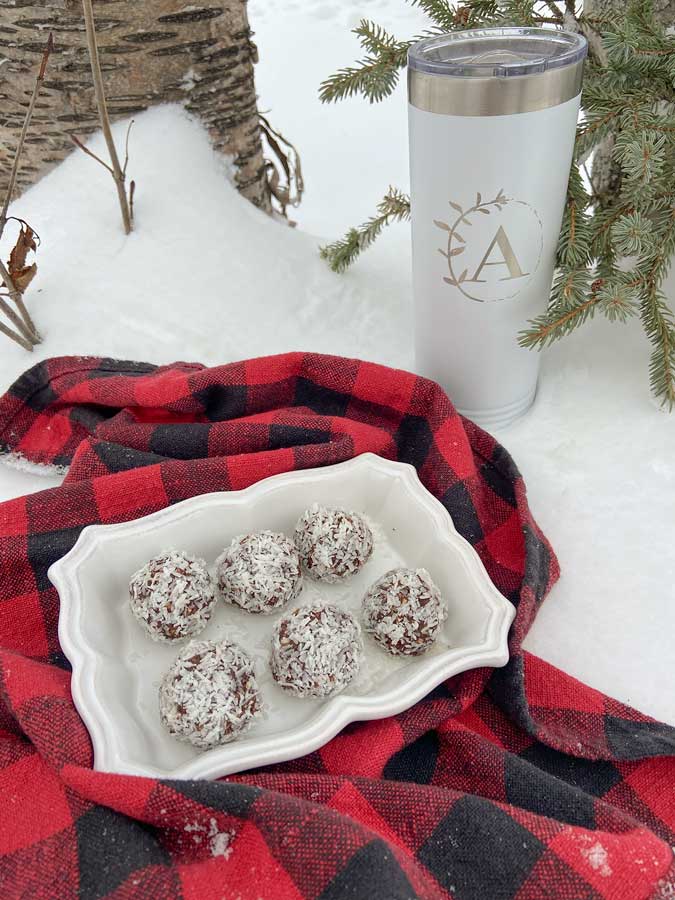
There are many delicious vegan cookie recipes out there but I had yet to find one that checks all the nostalgic boxes from my childhood than the Newfoundland Snowballs that my Nan used to make at Christmas. Those snowballs were made using basic ingredients like oats, cocoa, vanilla and coconut. And sugar. Lots and lots of sugar.
Refined Sugar
Research has shown that consumption of excess refined sugar can deplete essential vitamins and minerals in the body. One of these affected minerals is magnesium which is vital to every organ in the body. For those of us suffering from chronic illness like MCS, this is very important to be aware of as magnesium deficiency is common.
I try to limit my sugar intake to natural food sources like fruits, maple syrup and honey which in low quantities, is much easier on my body.
Dates as a Sugar Replacement
The traditional snowball recipe calls for a cup of white sugar. So I thought, what if I could replace the sugar with a more natural source. And even better – something that delivers a powerhouse of nutrients.
Dates are a good source of potassium, magnesium, selenium, calcium and copper. They have both soluble and insoluble fiber which aids in digestion. Plus, they are naturally sweet and carry distinct caramel notes that add flavor to many baked goodies and sauces.
Making Date Paste
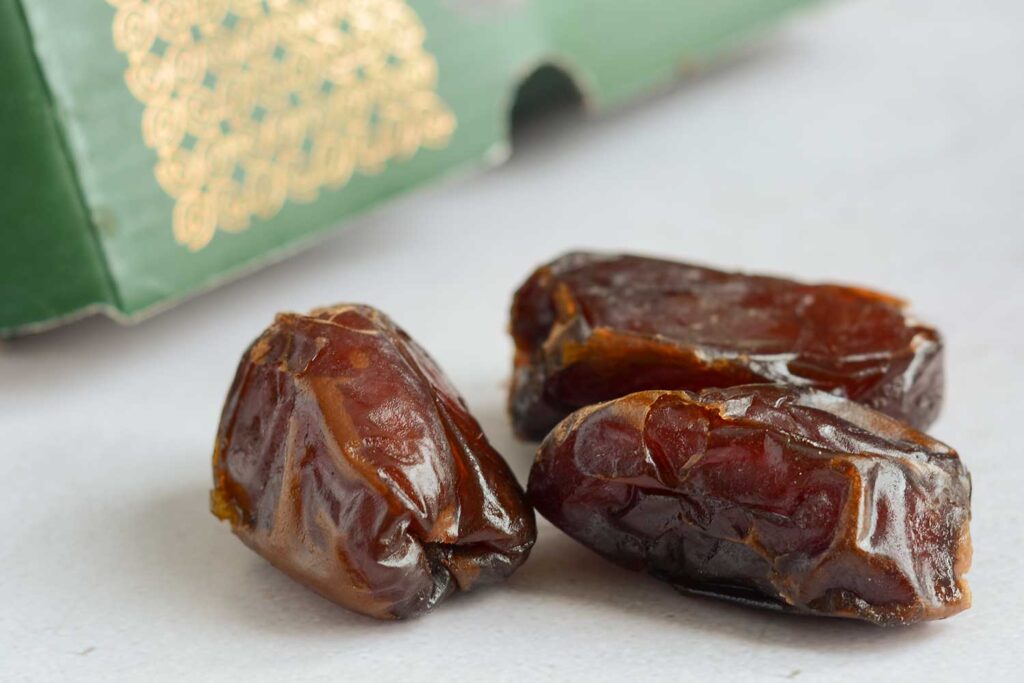
A friend brought back a large tub of Medjool dates on her last road trip. They were a little dried out and not great for snacking on. I decided to use them in an experiment to make date paste. I found simple directions in a recipe book we have on our shelf “RawEssence: 180 Delicious Recipes for Raw Living” by David Cote and Mathieu Gallant.
The directions called for the pitted dates to be covered in water and soaked for 4-6 hours. Many recipes for date paste call for boiling the dates in water on the stove as this will speed up the process of softening them up. But I was in no hurry so I used this soaking method instead. Plus, this way I didn’t have to watch them on the stove. And it was already evening so I left them in an airtight container overnight on the counter.
In the morning I poured the softened dates, along with the water from the container into my blender. What resulted was a beautiful sweet paste. The authors state that this date paste can last up to three months in the refrigerator which is super convenient as I plan to use it later for other recipes like our homemade bbq sauce and to make brownies.
Substituting Date Paste for Sugar
Many sources say that when substituting date paste for sugar, use ⅔ date paste to 1 cup of sugar. Due to the sharpness of cocoa in this recipe, I opted to use one full cup of date paste as ⅔ was just not enough when I taste tested.
Coconut
This recipe calls for both coconut milk as well as dried coconut. Selecting the right coconut will make all the difference to this recipe. Both in texture and in sweetness.
In many types of canned coconut milk, the coconut water has separated from the cream. This is good as you only want to use the thick cream for this recipe. You can save the coconut water for a smoothie or to sweeten a stir-fry another time. If the coconut milk is too runny, it will make your dough really wet and make it difficult to keep its form.
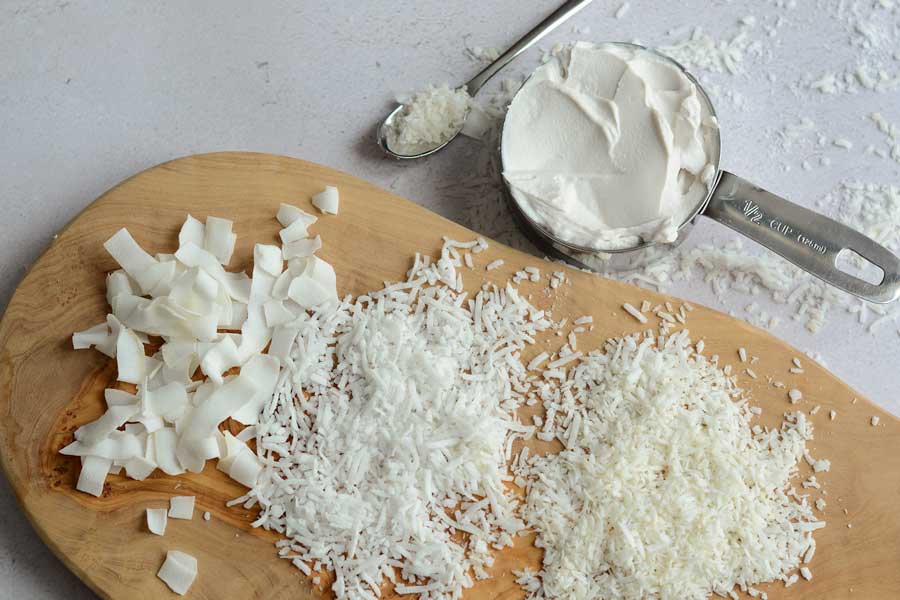
Then there is the dried coconut. Finely shredded coconut works best for the dough of the recipe to help absorb the liquid and to provide a nice chewy texture to the cookies. I use unsweetened shredded for this part.
For rolling the of the cookies, I use sweetened coconut as that’s what my taste-testers preferred. But I always put a handful aside and roll in the unsweetened coconut for me as I’m trying to reduce my refined sugar intake.
Simple, No-Bake Recipe
Out of all the easy vegan cookie recipes I’ve tried, this one comes out on top. It uses simple ingredients you can get at any grocery store. And it takes less time than baked cookies as you just sent them to firm up in the fridge. A perfect recipe to try with kids.
The Ingredients:
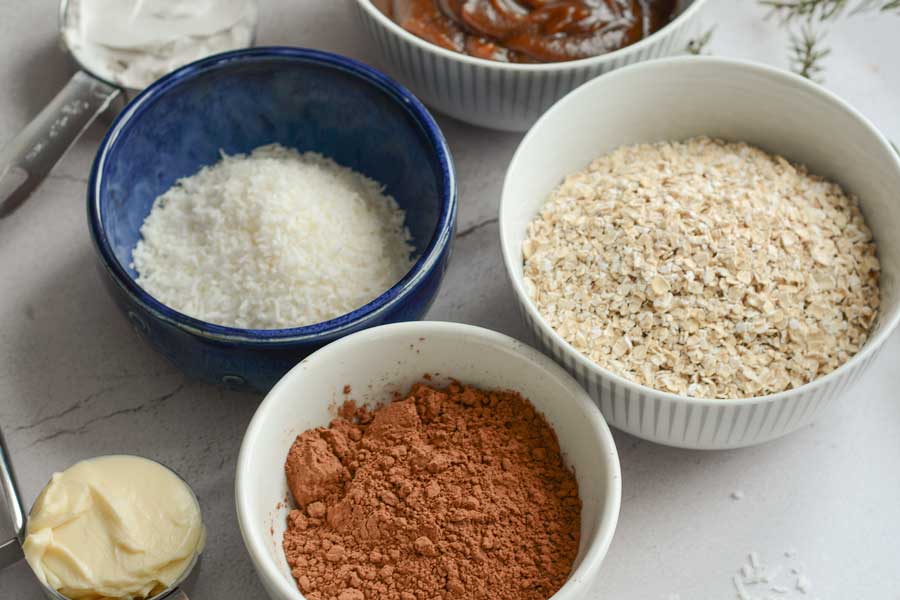
- date paste (see notes above to make your own using dried dates)
- vegan margarine
- pure vanilla extract
- cup cocoa powder
- gluten free quick oats (We love Bob’s Red Mill)
- unsweetened shredded coconut (for the cookie dough)
- sweetened shredded coconut (for rolling in afterward)
Instructions:
- Melt some vegan margarine or vegan butter in a saucepan on medium heat. Add the wet ingredients first: the date paste, the vanilla extract and the coconut milk. Stir to combine. Careful not to let the mixture boil.
- Add the dry ingredients. First, the cocoa powder. Use a whisk to make sure all of the cocoa has been fully incorporated into the mixture. Slowly add the shredded coconut and gluten free quick oats. Once mixed thoroughly, remove the saucepan from the heat and let it cool.
- While you wait, sprinkle shredded coconut unto a large plate or baking dish to prepare for the rolling.
- Once the dough is cooled, use a cookie scoop to pick up a uniformed sized portion of dough. Round the form into a ball in your hands. Transfer to the plate of shredded coconut and roll to coat the ball. Transfer to a baking tray or glass dish lined with parchment paper or wax paper.
- Repeat this process until the tray is full. Cover with plastic wrap and refrigerate to set for about an hour to set its form.

Recipe Modifications to Try
These delicious cookies will firm up when cool but still have a chewy center. It was a huge hit with our friends and family. A perfect balance of chocolate and sweet. The only thing my six year old son asked me to change was to use chocolate instead of coconut. He has a real sweet tooth.
So the first time I modified it, I melted Enjoy Life semi-sweet dairy free chocolate chips and dipped the balls in the chocolate. The second time I tried Enjoy Life’s white mini chips and that was definitely his favourite. Aside from the sugar in the chocolate, the cookie still has a lot of healthy ingredients. I still consider it a win.

Perfect Vegan Chocolate Snowball Cookie
Equipment
- 1 Blender This is to make the date paste. You can opt to use commercial date paste instead.
Ingredients
- 1 cup date paste
- 1/4 cup vegan margarine
- 1/2 cup coconut milk
- 1 tsp vanilla extract
- 1/2 cup cocoa
- 1 1/2 cup quick oats gluten free
- 1/2 cup unsweetened coconut
- 1/2 cup sweetened coconut
Instructions
- Melt some vegan margarine or vegan butter in a saucepan on medium heat.
Add Wet Ingredients
- Add the date paste, the vanilla extract and the coconut milk to the saucepan. Stir to combine. Careful not to let the mixture boil or the coconut milk will separate.
Add Dry Ingredients
- Add the dry ingredients. First, the cocoa powder. Use a whisk to make sure all of the cocoa has been fully incorporated into the mixture. Slowly add the shredded coconut and gluten free quick oats.
- Once mixed thoroughly, remove the saucepan from the heat and let it cool.
Roll the Balls
- While you wait for the dough to cool, sprinkle shredded coconut unto a large plate or baking dish to prepare for the rolling.
- Once dough is slightly warm, use a cookie scoop to pick up a uniformed sized portion of dough.
- Round the form into a ball in your hands.
- Place the ball to the plate of shredded coconut and roll to coat.Repeat this process until all dough is used up.
Chill
- Transfer balls to a baking tray or glass dish lined with parchment paper or wax paper and refrigerate for about an hour or until forms are set.


